Spy
MobX so far has been somewhat of a black-box, nicely hiding the details of how its reactive system works internally. Some have seen this as "too much magic" and not sure of how/why things work. The problem exacerbates when you have runtime exceptions. The amount of detail exposed on the error may not be enough. It also lacks the complete trace of events that led to the failure.
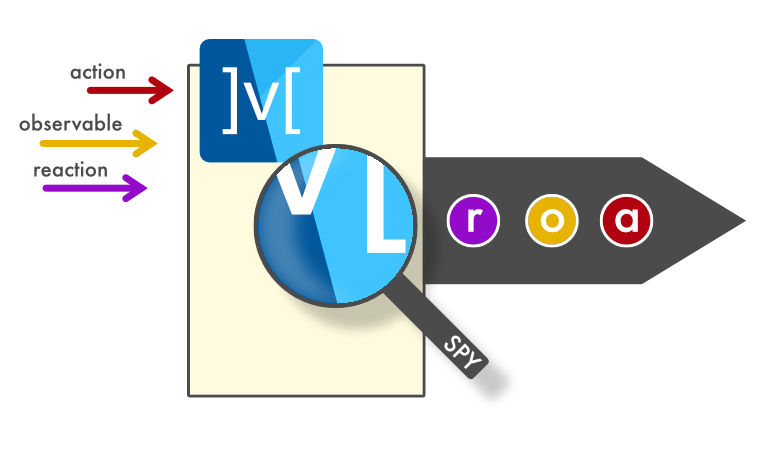
Spying exposes all these details and shows what is happening inside MobX. It can be summarized like so:
- It gives better visibility of MobX internals
- Enables better developer experience while debugging
- Paves the way for integrating with other tools

Let us Spy
Using the spy() method of a ReactiveContext, you can get notified of all
activities happening inside MobX. Most of the time you are dealing with the
mainContext, so you could just do:
import 'package:mobx/mobx.dart';

void main() {
  mainContext.config = mainContext.config.clone(
    isSpyEnabled: true,
  );

  mainContext.spy((event) { /* ... */ });

  runApp(MyApp());
}
In this case, we are setting up a spy right in the top-level main() method.
This gives us visibility into MobX, right from the get-go.
Notice that before we spy on events, we must first make sure that spying is enabled. Otherwise, we won't be able to capture any events.
ReactiveContext.spy()
Dispose spy(SpyListener listener);

typedef Dispose = void Function();
typedef SpyListener = void Function(SpyEvent event);
Setting up a spy gives you a disposer that can be called anytime to turn-off.
This is useful if you want to specifically setup a spy around an action,
observable or reaction. The details are present in SpyEvent, which are more
specifically captured in its sub-classes:
ObservableValueSpyEventComputedValueSpyEventReactionSpyEventReactionErrorSpyEventReactionDisposedSpyEventActionSpyEventEndedSpyEvent
Simple logging
Let us setup the spy to do some logging of the MobX activities.
This is part of the mobx_examples code.
import 'package:mobx/mobx.dart';

void main() {
  mainContext.config = mainContext.config.clone(
    isSpyEnabled: true,
  );

  mainContext.spy(print);

  runApp(MyApp());
}
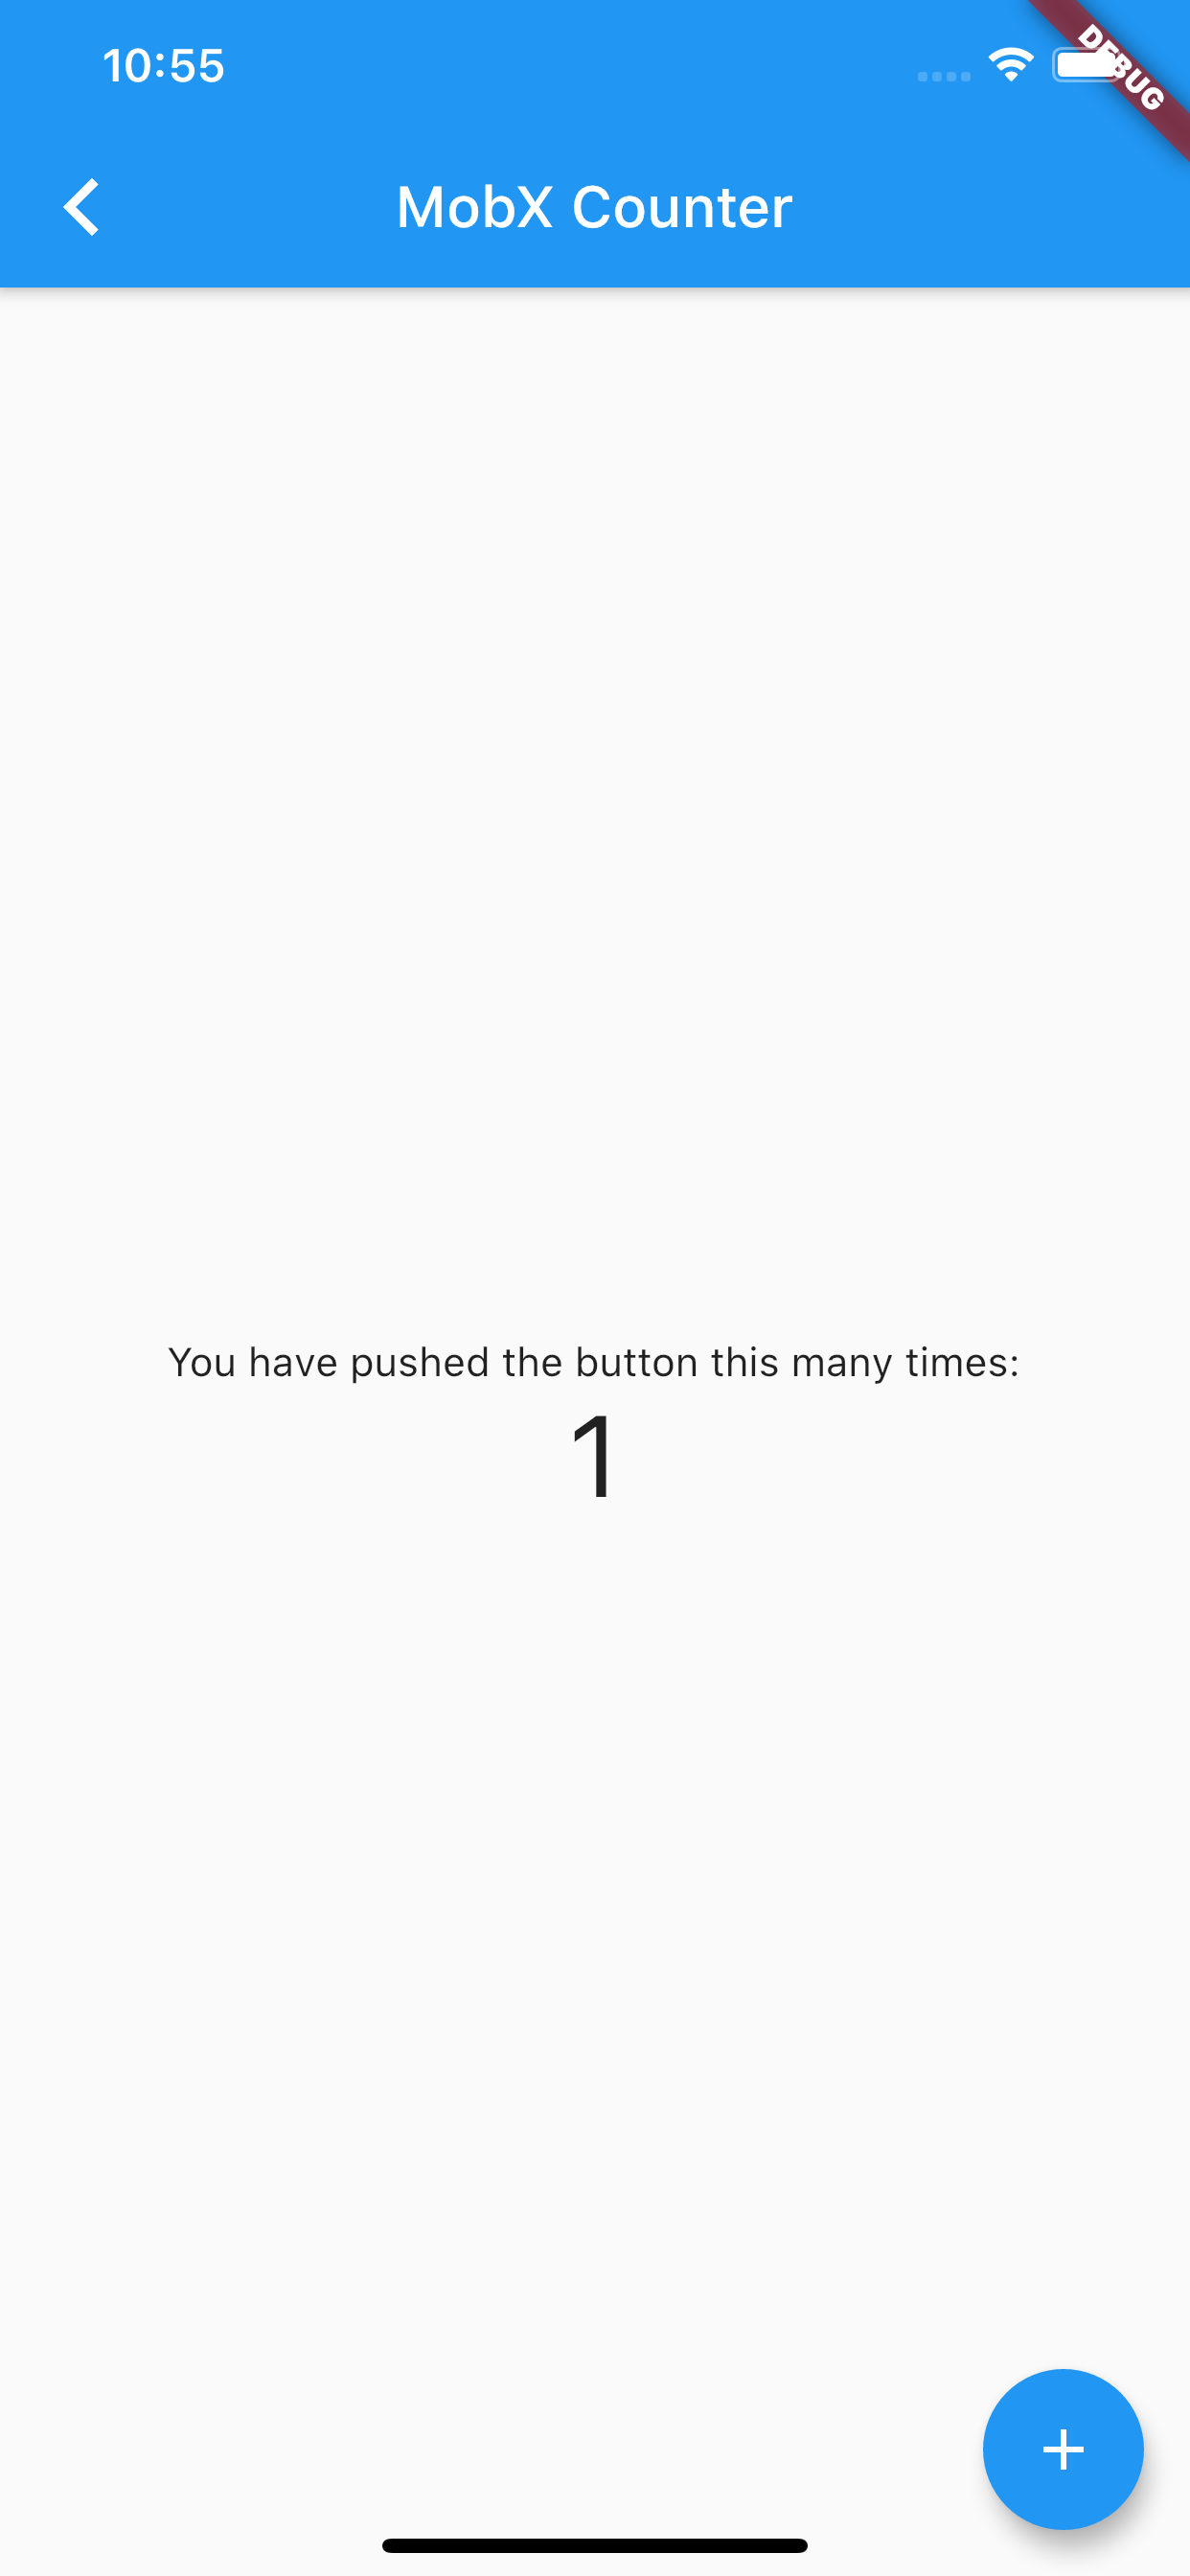
Running the counter example in the simulator gives the following output:

flutter: reaction(START) Observer
#3      CounterExampleState.build (package:mobx_examples/counter/counter_widgets.dart:28:15)
flutter: reaction(END after 0ms) Observer
#3      CounterExampleState.build (package:mobx_examples/counter/counter_widgets.dart:28:15)
flutter: action(START) _Counter.increment
flutter: observable(START) _Counter.value=1, previously=0
flutter: observable(END) _Counter.value
flutter: action(END after 1ms) _Counter.increment
flutter: reaction(START) Observer
#3      CounterExampleState.build (package:mobx_examples/counter/counter_widgets.dart:28:15)
flutter: reaction(END after 0ms) Observer
#3      CounterExampleState.build (package:mobx_examples/counter/counter_widgets.dart:28:15)
flutter: reaction-dispose Observer
#3      CounterExampleState.build (package:mobx_examples/counter/counter_widgets.dart:28:15)
Looking at this log, we can trace the events that led to the new state:
- The
Observer(reaction) is setup. - When we tap on the Increment button, the
_Counter.increment(action) gets fired. - As part of that action, the
_Counter.value(observable) gets updated from 0 to 1. - Since the
_Counter.valuehas changed, theObservergets rebuilt, resulting in displaying the new value. - Once we leave the Counter example, the
Observerreaction gets disposed.
Even in this simple example, we can see that a trace of events makes the whole
process more meaningful. The magic of MobX can now be unraveled with the use of
spy()!